Genesis 2:7 (NLT)
"Then the Lord God formed the man from the dust of the ground. He breathed the breath of life into the man’s nostrils, and the man became a living person."

Art carries something that does not fade. It carries the mark of its creator...life has been breathed into it. Art is imbued with this life by its creator - in creating art, we imitate our Creator who first breathed life into us.

Tuesday 15 October 2013

3rd & 4th Grade Project: 6 Lines

Our 3rd and 4th grade classes explored using different lines in this project.  We used six lines: straight, wavy, curvy, zig zag, squiggly, and dotted/dashed lines.  We learned that when a line crosses itself it makes a shape.  These shapes created from lines crossing are what gives our project its unique look.

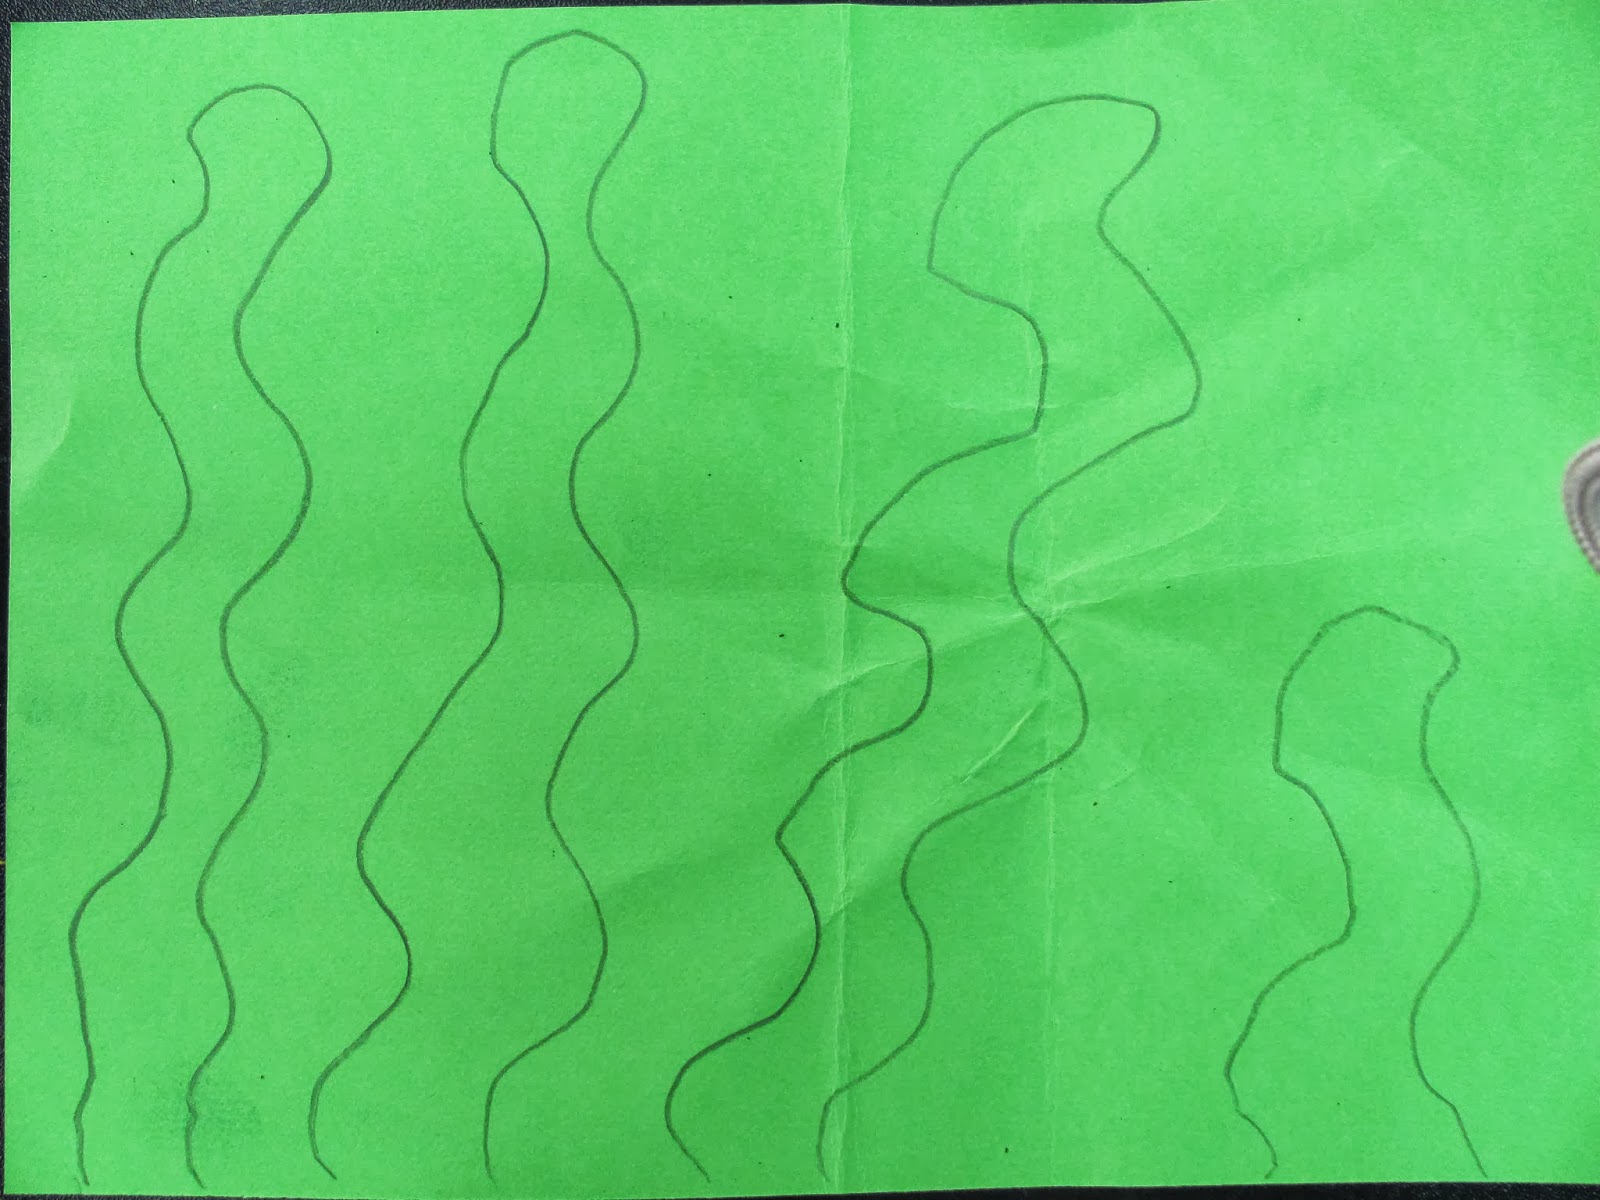
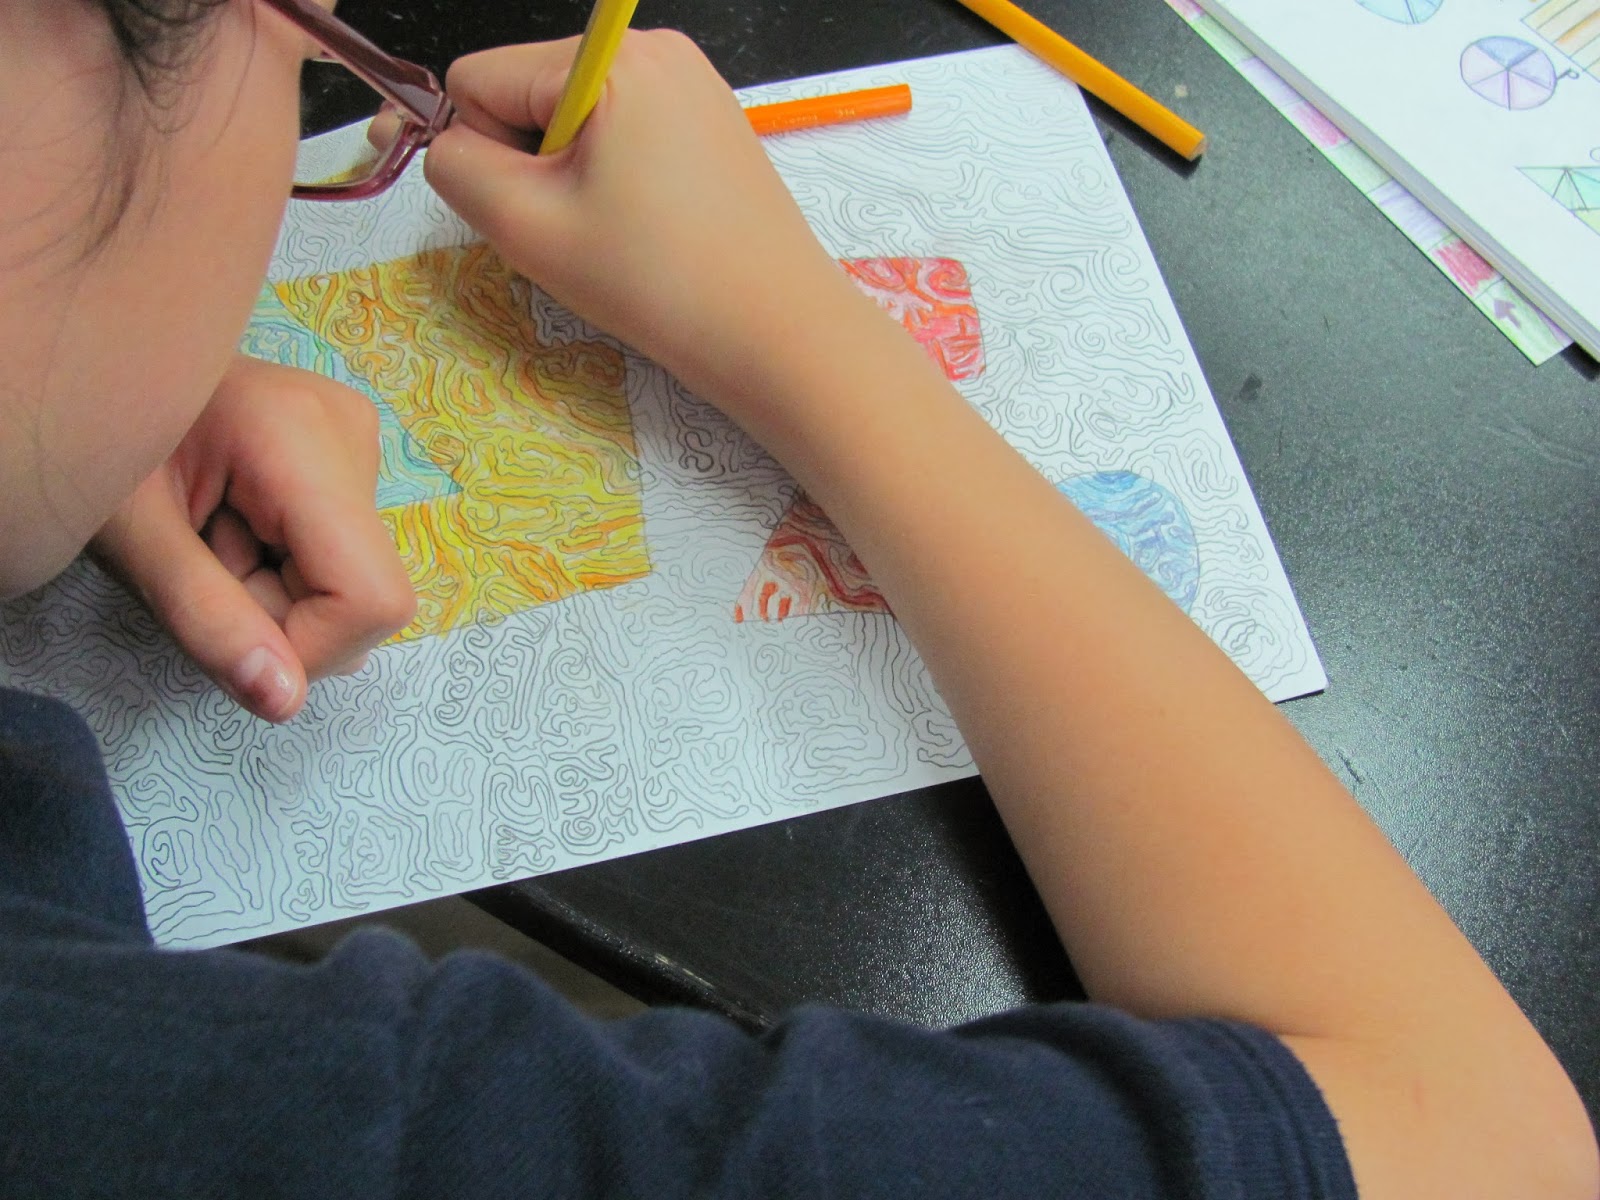
Students used each of the six lines to cross the paper in some way.  Once they used the six lines, they were free to add any additional lines that they wanted to.  After the lines were complete, the students outlined their pencil with either black or colored marker ( student's choice ).

We then went through our designs, coloring all the new unique shapes created by the crossing lines.  We did not cross any lines with our colors.  This gave us some fantastic results.  This project was a favorite of the students.


1st & 2nd Grade Project: Tree of Life - Scratch Art

The 1st and 2nd grade both learned about Gustav Klimt and how he loved color.  So using Gustav and his love of color as our inspiration, we first covered our papers in crayon.  We then painted our paper completely black with tempera paint.

Below is a sample to show students what happens when you cover your crayon with black paint.


Once their painting was completed and our papers were ready, we used chalk to draw our 'Trees of Life'.


We then used our scratching tools to remove the black paint from the inside of our trees and the swirls of our trees' limbs.  Some of our students paint was too sticky to remove so they had difficulty with project, it was hard to watch them do so well for all the steps and then not get a satisfactory result.  


Kindergarten Project: Hand birds

Students were asked to trace their hands both with their fingers together and fingers apart.  Once done with that we added circles, triangles, and curved lines to create different details on our birds.  Students then colored their birds in any color they wanted, because birds are many many colors.

When their birds were complete, they cut them out and pasted them onto the skies they had painted.


As an extra detail students were given markers and asked to add things you could find in the sky.

Monday 14 October 2013

Kindergarten Project: Caterpillars

The first project for our Kindergarten classes was the caterpillar project.  We used a small cup to trace our circles.  Then we used more circles to add the details of the mouth, antennae, eyes.  Students then were given crayons to use whatever colors they wished.  We have a very bright group of caterpillars to show off now!


1st & 2nd Grade Project: Underwater Painting

In 1st and 2nd grade we began the year with a multiple step collage/painting.  Our first step was to paint the sea floor ( or sand ) and the ocean above it.  We used watercolor, focusing on how to hold and use our brushes and how to use water to spread the paint.


 Our next step was to draw our fish.  We used some basic lines to make our fish's body, but once that was done our students and their imaginations took over their fish's design.


We then cut the fish out and pasted them to our now dry backgrounds.


Next we needed our seaweed, so students were given green construction paper and we drew and cut out our seaweed.


Our last step was to cut out and past the seaweed onto our ocean scene.


As an extra detail students were given markers, they then added other things that you could find in the ocean
to their artwork.

This project, though lengthy is one students enjoyed working on and were very interested in each time they came to class.

3rd & 4th Grade Project: Letter Puzzle Page

To begin our year together the 3rd and 4th grade students used the first letter in their name to create a design.  This design began with the monumental first letter of their name.  Then using patterns from our pattern pages or their imaginations, they filled their letters.  Once filled, their letters need to be colored.

Next, in the background of their page, students drew puzzle pieces to create a unique background full of line and color.  Students then added words that began with the same letter as their name, the results as you can see are as unique as the students.


6th Grade Project: Op Art - Circles, Lines, and Curves (Part One)

In this unit the 6th graders were introduced to works of Victor Vasarely and Bridget Riley as they began their study of Op Art.  The students enjoyed how the illusions played with their eyes.  There were images that appeared to be moving, while other images just hurt our eyes a bit.  Overall the students were excited about the idea of creating their own Op Art.

We began in our sketchbooks with the Vasarely circle, after which we practiced the line work of Bridget Riley.  Students worked in black and white, then they would also use a color and its complement so that they could see how each pairing worked together.


After practicing in their sketchbooks, students would then move into their final project.  They would choose where to place the circles, what style of line to use, and finally what color(s) to complete their Op Art with.

As they began, their work quickly took on very unique qualities.


Please look at Part Two of this post to see their finished works.

Tuesday 8 October 2013

5th Grade Project: Line, Color, and Shape

The 5th grade began this particular project by working with each element individually in their sketch books before combining them into their final project.

We divided their sketchbook pages into 4 sections: section 1 was for notes, section 2 was to practice a continuous line, section 3 was used to create a composition using circles, squares and triangles, and section 4 was for our color families.

After completing the first for sections, we then took our composition from section 3 and moved it into section 1 over our continuous line, we then used our color families to color the lines in our shapes.  This gave students a sneak preview of the final product.


Now armed with some experience, students tackled the full-size paper.  We first filled our pages with a continuous line.


Once the pages were covered in our single, continuous lines we began adding shapes and then color.


This is a beautiful project, it does take time, but as you can see the results are well worth the effort.

7th Grade Project: Vincent Van Gogh - Impasto and "The Starry Night" (Part Two)

As we continue in our unit covering Vincent Van Gogh, we begin our work on our version of "The Starry Night".  We do this by doing two sketches: one of Van Gogh's "The Starry Night" and the other of "My Starry Night", a piece that is inspired by Van Gogh's work but different from the original.


We then take our second sketch and begin our work on our line drawing of "My Starry Night".


As we finish our pencil work, we will then add color using oil pastels.

Go to: Van Gogh: Part One

Go to: Van Gogh: Part Three


7th Grade Project: Vincent Van Gogh - Impasto and "The Starry Night" (Part One)

In this unit we are focusing on the work of Vincent Van Gogh.  Our study of the artist first highlights Van Gogh's brushstroke and his use of thick paint (Impasto).

Our study begins in our sketchbook as we break down Van Gogh's painting style.


We specifically looked at color application and how the order in which you apply the color will determine how the final product will look.

We then took our color practice and applied it to a line drawing of jar of paintbrushes.  In the coloring we used the short, dashed marks reminiscent of Van Gogh.  We used line direction to help distinguish different textures.


Go to:  Van Gogh: Part Two

Go to:  Van Gogh: Part Three

8th Grade Project: Fantasy Handscapes

What is a handscape?  That is a good question.  Handscapes are a landscape made with large hands as part of them.

This project is a favorite of mine.  I have taught it for many years and at many different grade levels.  Students enjoy it so much, once they find out what a handscape actually is.

After drawing their handscape in pencil, students will then use black pens and markers.  With the pens and markers students will use black to outline, fill, and create contrast in their pieces.  Line quality, light and dark, contrast, and emphasis are things that the students take into consideration.


Monday 7 October 2013

Welcome!

Welcome to the new Elementary and Middle School art blog of Dalat International School in Penang, Malaysia.  This site will keep you up to date of the goings on of the ES/MS art room here at Dalat.